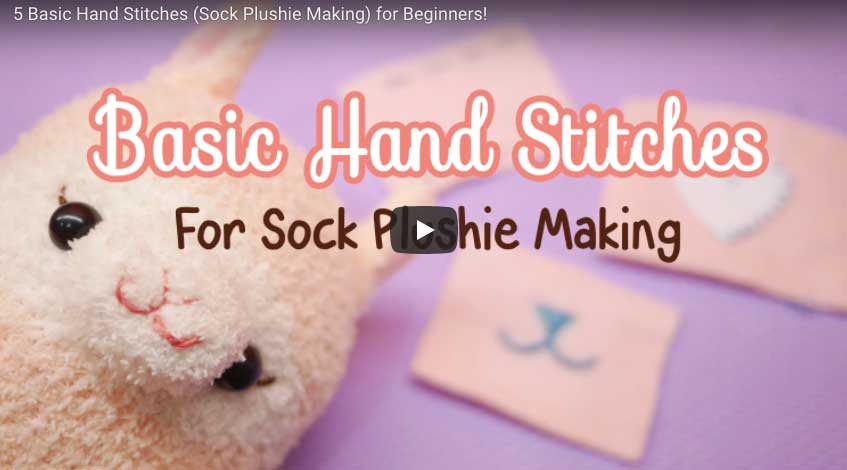
If you even have a passing interest in making plush toys then this tutorial is for you. This video from BudgetHobby runs through the basic essential stitches (running stitch, back stitch, ladder stitch, fell stitch and basic embroidery for the mouth and nose) to give you a basic understanding of what these stitches are and where they are used.
The really great thing about this tutorial is there is no need for a sewing machine. This makes it a fantastic place for anyone new to sewing to test the waters to see if this art craft is for them without the need of any expensive equipment.
The basic hand stitches.
Running stitch
The running stitch is possible the easiest stitch to do. It consists of small even lines running through the front then back of your fabric. This stitch can be used for decoration.
Back stitch
Back stitches are extreamly important. They hold your pieces of fabric together. Plush wise this can be used to attach your template pieces together. This could be your basic plush shape ready for your stuffing to be inserted. You can also use the back stitch to apply any decorative felts you wish to apply.
Ladder stitch
This stitch can also be used to attach fabrics together (like the back stitch). Just as importantly, the ladder stitch is also used to close seams. When you stuff your plush you can use the ladder stitch to close it up.
Fell stitch
The fell stitch is a decorative way to attach your fabrics together. It makes a lovely rustic effect if you want it visible. If you want a less visible looking stitch consider using thread similar to your fabric and sewing closer to the edge.
Be sure to follow this YouTube channel http://www.youtube.com/user/budgethobby
BudgetHobby is also on these social media platforms
Google + | http://google.com/+BudgetHobby
Instagram | http://instagram.com/budgethobby


